How To Make A Content Calendar Using Google Drive
Planning out content in advance will save you from the stressful daily scramble of trying to come up with creative social media and blog posts. There are many tools out there for building content calendars but in today’s post, we’re going to teach you how to do it using your Google Drive.
First off, you need to dedicate a few hours of quiet time to create your calendar. Depending on how much content you need to create from scratch, you may need a full day to work on this. However, it’s going to totally pay off so we highly recommend blocking out time and getting it done. 👊🏼
FYI: We build our content calendar a month in advance. We typically publish blog posts once a week so we make sure there’s enough material in the hopper before filling in the calendar.
We also like to craft social media content around our blog post topics. For instance, if we publish a blog post about How To Increase Organic Traffic To Your Website, then we’ll create one or two posts that tie in with that topic during the same week (i.e. a post about our Website Prep Planner and a tip for building a list of keywords).
The idea is to develop a cohesive communications plan. Once you get started, you’ll see how natural this becomes.
Creating Your Content Calendar Using Google Drive
Step 1:
Create a new folder on your Google Drive (and share it with any collaborators).
This is the main folder that’s going to house other folders and files. We named ours Content Calendar.
Step 2:
Create a folder within the new main folder and name it by Month and Year.
So, for example, if we’re building content for next month, we’d name the folder January 2019.
This is one week of content from our November calendar.
Step 3:
Create a new Google Sheet within the Month folder you just created.
Create a header row at the top of your sheet and enter the month and year. You can see in our calendar above, we’ve also highlighted this area in pink so it’s obvious what sheet we’re in.
Next, create seven rows for each day of the week. Underneath each day, fill in a general theme you’re going to use for content on that day throughout the month. In our example, you’ll see for November that we posted:
Blog content on Tuesday’s
A call-to-action (related to the blog topic) on Wednesday’s
A highlight on Thursday’s
A testimonial or inspirational quote on Friday’s
Then create your calendar by entering the dates that coordinate with each day. On our calendar, we made the text in these cells a lighter grey color.
FYI: Coming up with themes in advance will help you narrow in on the type of content you share on a daily basis. We plot out our themes so they’re consistent for the month (i.e. every Tuesday was a blog post promo in November). However, you can mix your themes up every week … it’s completely up to you!
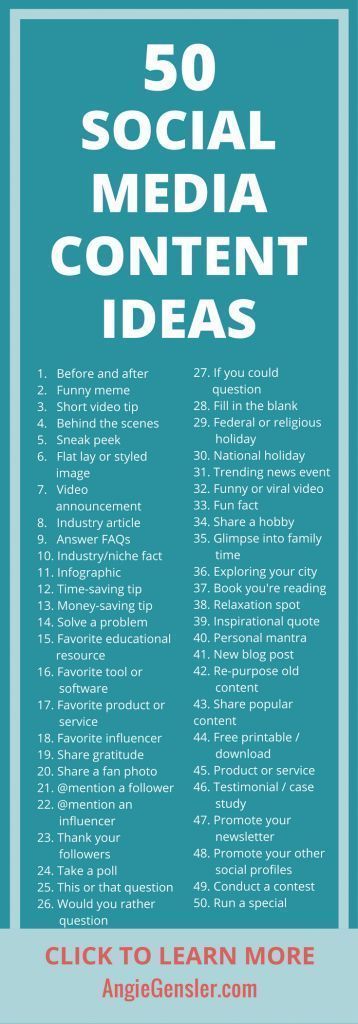
If you need some help coming up with topics and themes, check out this awesome list that Angie Gensler put together.
Using the themes you’ve determined, craft a message under each day you plan on posting content. We like to include our hashtags here as well. That way, we can copy and paste everything from the sheet directly into IG and Facebook.
Pro Tip 1:
If you want to use emojis in your caption, you can open up your iMessage on Mac, click to create a new message, and then enter your desired emoji into the type field. Copy and paste it from there into your Google Sheet.
Pro Tip 2:
If you plan on updating your IG bio link or using links in your Facebook or Twitter posts, you should paste these links in a cell below your caption for reference.
Step 4:
Create a folder within the Month folder to store images.
Collect the images you’d like to use for each post. Before dragging them into the Google Drive folder, rename them as the number of the day you plan on posting them. (i.e. Your image for January 17 would be named 17.jpg.) This way, you’ll know exactly what photo goes with what caption when it’s time to post.
Once you’ve uploaded all your images and filled in your monthly calendar, you can sit back and admire your work of art. And revel in the joy of knowing you have content lined up to share for the next four weeks! Woot-woot!


